As seen in


Why A Piece of Cheese is a Ticking Timebomb

Here at Formaticum, we are all about cheese storage. We know there are lots of other storage products out there, including plastic or silicon tubs and other fancy boxes, but there’s a reason why we stick with sheets and bags. The truth is we don’t recommend using these for storing your cheese. Why? Well, we’re glad you asked!
There’s a lot of confusion about how to properly store cheese. You may get swept up in romantic images of cheeses aging on wood shelves in caves, but that has nothing to do with preserving the 1/4 lb piece of cheese you just bought from the store. When cheese is maturing in a cave, the full wheel is intact and the rind has not been broken. That rind functions as the “packaging" protecting the interior paste of the cheese as it develops its flavor and texture. The rind allows the paste to breathe while regulating its humidity.
Once the cheese is ready for sale, it is removed from the aging cellar and stored in refrigeration. The cold temperature stops the maturation process and preserves the cheese for sale. The rind continues to act as the protective packaging. When the cheese is ready to be eaten, the wheel is cut and the rind is broken. At this point, the clock starts ticking. Different cheeses have different longevities, but once a wheel is cut open there is a limited time period when it will taste as the cheesemaker intended.
At this point, the goal of proper storage is to protect the paste of the cheese that has never before seen the light of day or taken a breath of fresh air. To protect the paste and keep it fresh, professional cheese packaging is required. Carefully wrapping cut wedges in cheese packaging can help prolong the life of the cheese better than any other storage option, because it tightly protects the delicate paste while regulating humidity and allowing the cheese to breathe. Placing an unwrapped wedge of cheese in a box might make for a beautiful presentation, but it will likely lead to poor tasting cheese with an off-texture. Leaving cut wedges of cheese in a box exposed to the air might look good but it will not do you cheese any favors.
Think of professional cheese packaging as a synthetic rind. Use it to protect the paste so you taste what the cheesemaker intended.
How to Cut Cheese the Right Way
There are a lot of factors that go into the perfect cheese plate, but one of the most important and often overlooked details is how to properly cut each wedge or wheel. Of course, you don’t need to cut up every cheese completely, but making the first incision will help guide your guests. Plus, it helps with the intimidation of being the first to cut into that perfectly pristine wedge.
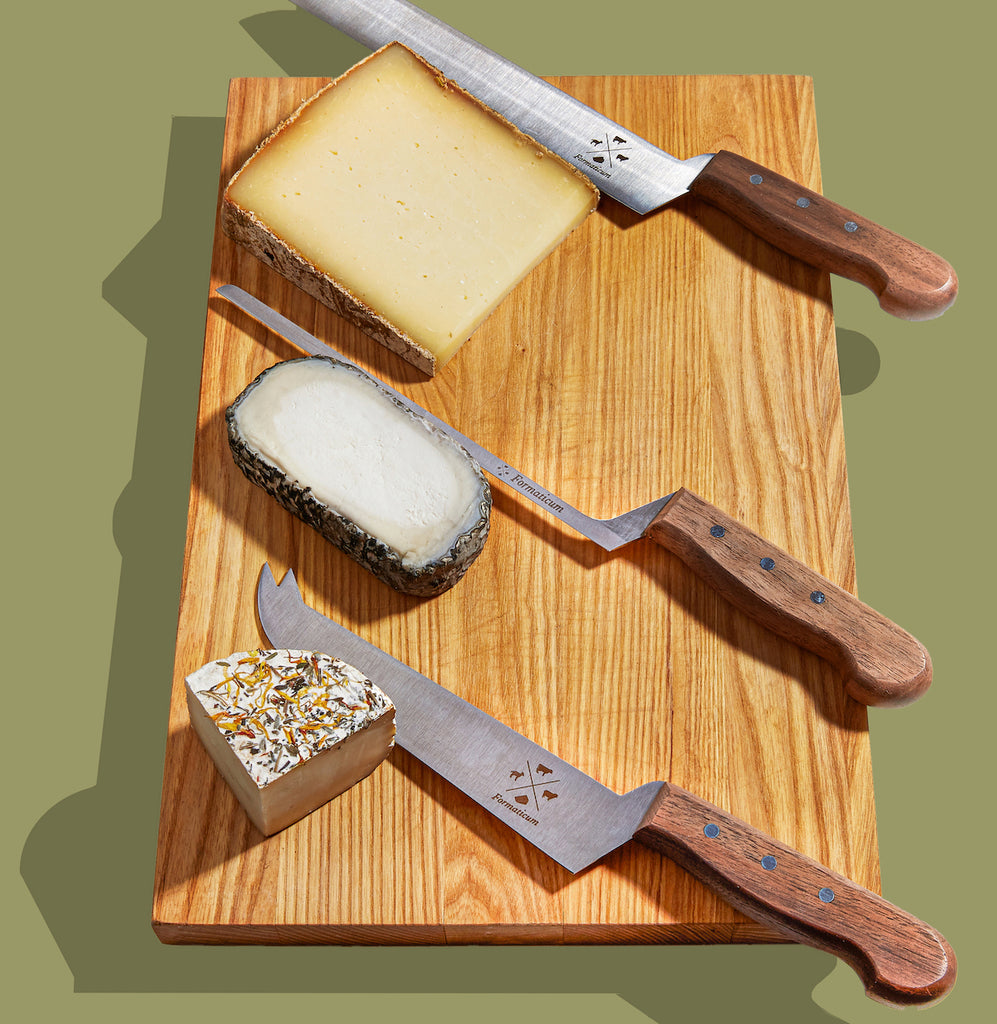
The shape of the cheese will determine the best way to cut it, while the texture and type will inform which knife to use. When serving, we recommend having a separate knife for each cheese to avoid cross-contaminating the flavors. Here's a helpful little guide on how to cut each cheese the right way, depending on its shape.

Round, like Camembert
Use our Professional Soft Cheese Knife to slice it into wedges, like you would a pie or cake. This ensures an even rind-to-paste ratio.

Square, like Cottonbell from Boxcarr Handmade Cheese
Use our Professional Soft Cheese Knife to slice into triangles, like you would a grilled cheese. Cut it in half diagonally, corner to corner. Then bisect that so it’s in quarters. Bisect each triangle again.

Log, like Aged Chelsea from Zingerman's
Use our wires cutters to slice into coins, about 1/2 “ thick. If it has a large diameter, like bucheron, you can then cut into pie-like wedges for a perfect portion.

Rectangle (think Comte)
Use our Professional Cheese Knife to slice off the rind then cut into thin strips, vertically. When it comes to flavorful, aged cheeses, the thinner slice, the better.

Firm Wedge, like Mimolette
Use our Professional Cheese Knife to cut off the rind so there are no inedible bits on your cheese platter, then slice into thin triangles.

Crumbly Wedge, like blue cheese
These ones are the hardest to slice cleanly, so we recommend crumbling off a few large pieces and leaving the rest whole. Or, you can use our Professional Blue Cheese Knife to get a clean slice every time!
5 Cheeses That Make Perfect Hostess Gifts

Holiday parties are in full swing, and you’re going to need a perfect, no-fail hostess gift to tote along with you. Enter cheese, the gift that keeps on giving. There are two ways of gifting wedges and wheels: you can either bring it plated and ready-to-serve, or discreetly hand it over to your host for them to enjoy later.
We’ve rounded up a list of our top 5 cheeses that make perfect hostess gifts. Just pair them with one of our trusty cheese storage products to keep it fresh even after the party’s over.
- Rush Creek Reserve from Uplands Cheese
This bark-wrapped wheel from Wisconsin only comes around once a year, so stock up before it’s gone for the season. It’s as soft as frosting and tastes like bacon and pine. Pair with a Belgian bomber and our reusable cheese storage bags.
- Truffle Tremor from Cypress Grove
Nothing screams holiday indulgence like black truffles. We love how the tart, lemony flavors in this dense cheese really bring out the best of those aromatic flavors. Pair with a bottle of bubbles and a box of our cheese storage paper.
Who can resist those crunchy crystals and notes of salted toffee? An aged gouda is always a total crowd-pleaser, and it’s sturdy enough to travel long distances. Add a bag of candied pecans and our cheese storage bags, which also make for a perfect travel companion.
Brie is a familiar, approachable cheese that goes with a variety of sweet and savory flavors. We especially like triple creams this time of year, like Mt Tam from Cowgirl Creamery. Splurge on a nice jar of preserves to go with the wheel and add a box of cheese storage papers to complete the set.
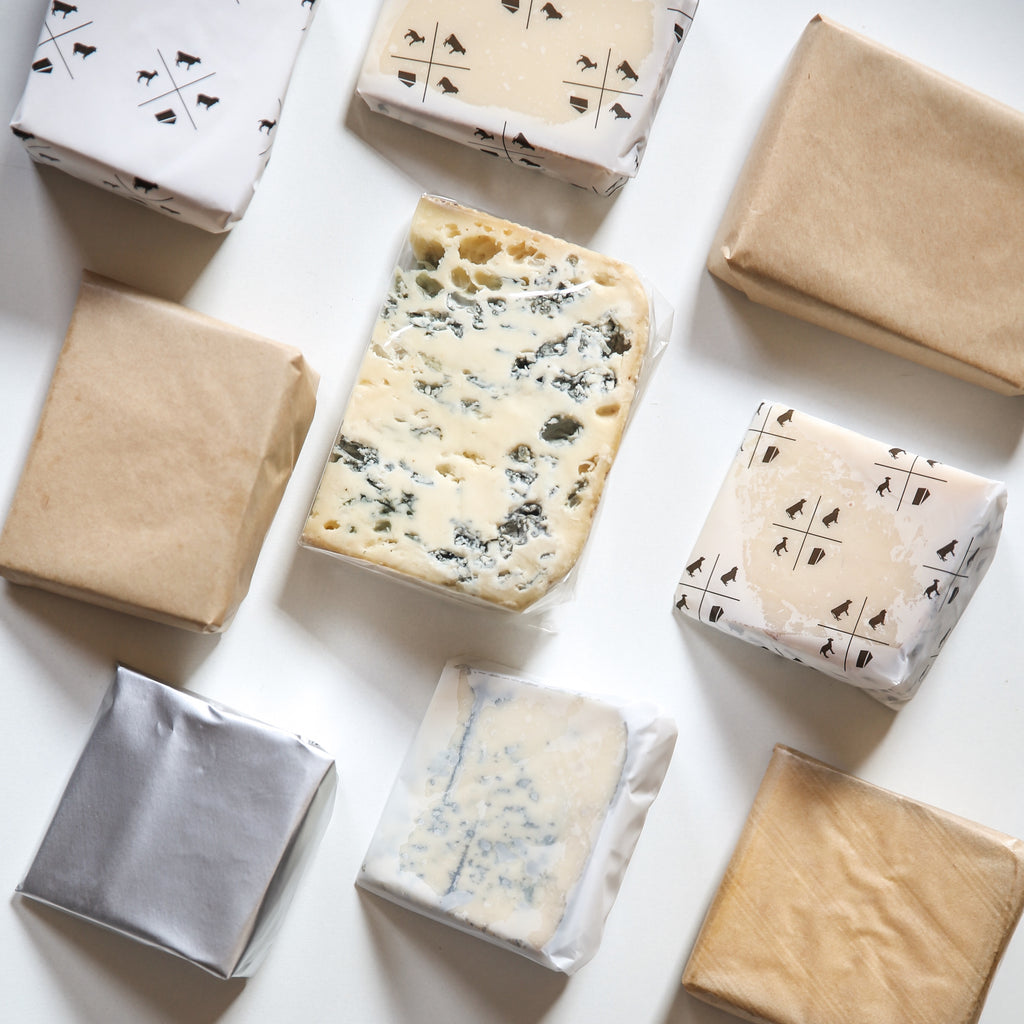
- Rogue River Blue from Rogue Creamery
This Oregon classic is another one of our seasonal favorites. It's a creamy blue that's wrapped in pear brandy-soaked Syrah leaves, imbuing the wheel with a delightful boozy character. Gift this one with our transparent biodegradable cheese storage sheets, so you can still see that pretty cheese even when it’s all wrapped up.
Questions about how to wrap your cheese? Check out our guide to forming the perfect French pleat.A Step-by-Step Guide on How to Make a French Pleat
We know the struggle. You buy a piece of beautifully wrapped cheese from your favorite shop. As soon as you get home, you tear into that pristinely wrapped package, with perfect folds and creases keeping that cheese snug as a bug in a rug. After taking a few slices, you try to wrap it back up as elegantly as the cheesemonger did, but it ends up looking like a sagging paper grocery bag that got caught in the rain.
The key to proper cheese storage is making sure the cheese is completely wrapped without any parts exposed and the whole piece is secured tightly. Formaticum storage products ensure your cheese gets the perfect ratio of oxygen flowing so your cheese can breathe all while preventing moisture from escaping to maintain optimal humidity. Exposed bits will dry out to a crisp in the cold, arid conditions of your fridge, making the pleat a critical step.
The best way to wrap a cheese and make sure that it’s perfectly protected, and sealed inside the packaging, is by doing a classic French pleat. Don’t worry, it’s simple to execute.
Here’s a step-by-step guide to forming a perfect French pleat.
- Place the cheese in the center of the paper, with the long side of the cheese facing the long side of the paper.
- Bring the edges of the long side of the paper together so that they meet.
- Pinching them together, carefully fold the paper over about a half inch and make a crease.
- Roll the fold downward until it's tight against the surface of the cheese.
- Fold the open sides tight to the shape of the cheese and make an envelope crease just like how you’d wrap a present.
- Tuck both flaps under the cheese.
- Write the name of the cheese and the date on a label, and use it to secure the flaps.
- Store your cheese in your fridge until you’re ready to finish it off!
Check out this instructional video to see this technique in action.

Welcome to the formaticum Blog
Our home to share our cheese chronicles and more.
Categories
Recent Posts
Meet Your Monger: Carol Johnson of Monger's Palate
A Brief History of American Cheese
Connect with Us
Join the Newsletter
Sign up to receive special offers, new product releases, updates from the cheese shop, and more.